Gleam of the Final Dawn
|
|
|---|---|
| Location | Ryakad Minoris (Electrodynamic Cenobium) |
| Reward | 5 Profit Factor |
| Previous Quest | The Starport |
| Next Quest | Taste of Victory |
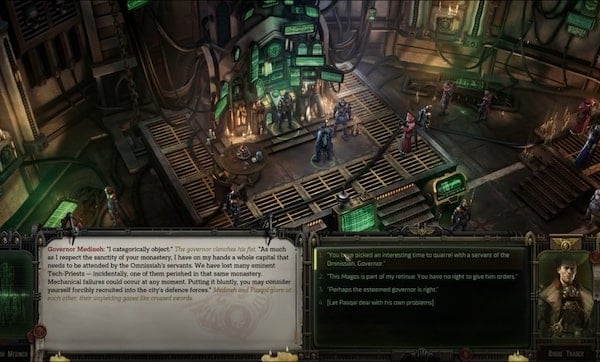
Gleam of the Final Dawn is a Main Quest in Warhammer 40k: Rogue Trader. Gleam of the Final Dawn can be acquired in Act 1. Gleam of the Final Dawn can occur and begin subsequently with a few other Main Quests in the game such as Looking for Trouble & The Starport. The quest begins after speaking with Governor Medineh at the Command Center and gaining intel on Interrogator van Calox and the situation at the Monastery.
Gleam of the Final Dawn Information Rogue Trader
Interrogator van Calox headed to the monastery of the Adeptus Mechanicus that guards the sacred archeotech reactor. According to the Governor Medineh, rebel forces have been spotted in the vicinity. The Rogue Trader needs to head to the religion to assess the situation and locate the agent of the Inquisition.
Warhammer 40k: Rogue Trader Gleam of the Final Dawn Objectives
- Head to the monastery
- Reach the reactor
- Talk to the rescued Tech-Priest
- Deal with Aurora
- Return to the landing area
- Talk to the governor
- Commit sabotage (Heretical and Iconoclast path only)
Rogue Trader Gleam of the Final Dawn Walkthrough
The quest begins in the middle of a conversation with Governor Medineh at the Command Center during the The Starport quest.
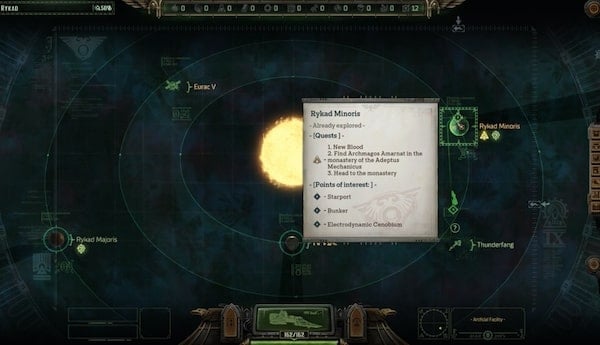
Return to the voidship and on Rykad Minoris land at Electrodynamic Cenobium.
After landing, before entering the monastery proper, explore the left and right areas of the map. There will be three skill checks that grant some experience if completed. Then climb up the stairs and open the gate via the cogitator next to it. Once inside you can go left or right. It is recommended to go left first to gain an extra companion and then right before resuming left.
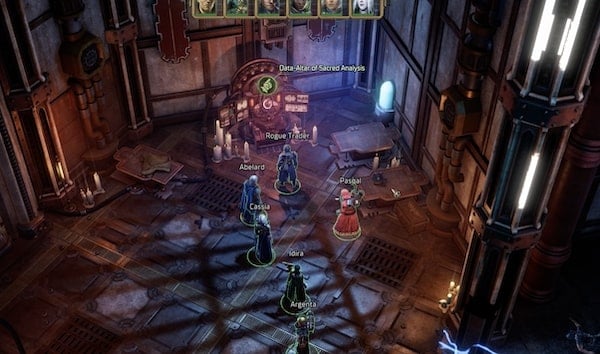
If you go right and right again at the first door you will find an empty room. Go to the end of the room and if Awareness is high enough you will find two hidden doors. Each one hides a Mummified Electro-Priest and the left one can be talked to. If you ask it for help and you pass a Persuasion or Coercion check or have the Ministorum Priest origin you will receive a buff for the rest of the map. If you exit and continue right you will be ambushed by 6 Electro-Priests. They are healed by shock damage so do not use psyker lightning arc attacks on them. After defeating them continue forward until a motive force field will block your access. Enter the room on the right. You will find a locked chest and a Data-Altar of Sacred Analysis. If you can chant the correct song it will reveal a hidden cache holding an Arc Rifle and Pinpointing Visor. The solution can be found at the bottom of the page.
If go you left and left again at the first door you will find Heinrix interrogating a culting before it expires. After the introduction, if Idira is in the party, Heinrix will recognize her as an Unsanctioned Psyker.
Major choice: If Idira is in the party, how you reply to Heinrix will affect Idira's character development path:
- "Idira's predictions are seldom wrong. I will be watching you." - pushes Idira towards the Accepted path
- "Pay no attention. She talks all kinds of nonsense." - pushes Idira towards the Rejected path
- "Idira is a member of my personal retinue and is under my protection." - pushes Idira towards the Accepted path
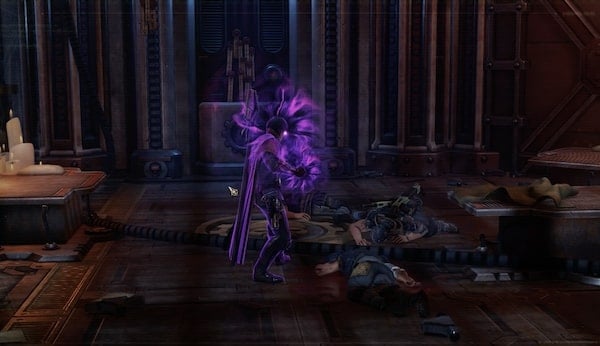
In the same room on the right there is a cogitator. Pass a Logic test to use it and it will reveal a hidden cache. Exit the room and continue left. You will exit into a corridor with glowing round circles on the wall. This will periodically emit electricity so be careful as you pass them. Once you enter the corridor you will be ambushed by cultists. Beware the snipers at the end of the corridor. After looting the cultists there is an optional area at the middle of the corridor that requires an Athletics check to cross. Once you clear the corridor you will reach the room that's blocked by the motive force field on the other side. You will find a tech-priest tortured by the cultists. There are two ways to kill the cultists:
- Charge into the room and kill them in a fight. You can choose to get Iconoclast or Heretical conviction points for this.
- Disguise with the clothes of the killed cultists. You can choose to get Dogmatic or Heretical conviction points for this. First you need to pass a check on the Distribution Servitor on the right (Coercion, Tech-Use or Astra Militarum origin), then on the Safety System Control Altar (Athletics, Tech-Use or Navy Officer origin), then sit in the Lumendeacon's Command Throne. Sitting on the throne requires passing a Toughness test and will give the Rogue Trader an injury. You can also tell Pasqal to do it, which requires a passing a Persuasion test unless you have the Commissar origin.
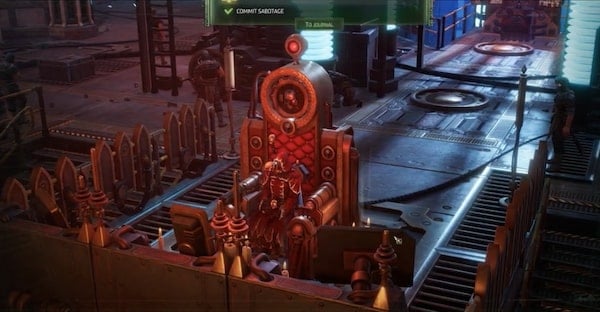
After the cultists are killed speak with the Tortured Tech-Priest. This will also complete the Request and Response quest.
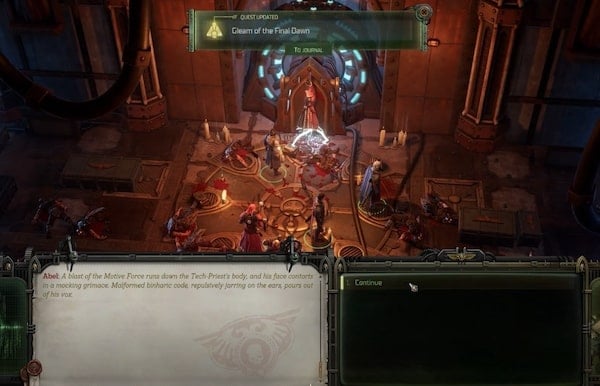
You will find out the tech-priest's name is Abel. The conversation will ultimately bring three choices.
Major choice: If Abel is saved he will join on the voidship bridge and will take part in the Let the Cycle Be Discontinued quest.
- [Iconoclast] "I shall help save him." - requires passing a Tech-Use or Lore (Imperium) test and saves Abel
- [Dogmatic] [Grant the Emperor's Peace to the Tech-Priest] "Let the tainted be eradicated." - kills Abel
- [Heretical] "I would rather leave him as he is. There must be a purpose to whatever ritual he has taken part in..." - kills Abel
Leave the area through the now-disabled force field. Interact with the Circular Cogitator and you will find the hiding place of the Electro-Priests. Speak with Dahr-Impulse VI. How you reply to the conversation does not matter but if you are Dogmatic - Follower you can request him to give you two Electro-Priests for the battle as well as give everyone the the Praetor's Aid effect for the final battle, giving +10 Armour. There is a chest behind the statue behind Dahr-Impulse VI. Loot it and then go through the newly opened door on the left. Into the bowels of the monastery loot the chest in front of you and then go into the reactor room. There you will finally confront Aurora.
Regardless of the chosen dialogue options, a battle will begin. Aurora will not take part in the battle but you will need to face a lot of cultists and electro-priests. There will be 6 electro-priests - one at each generator pillar. Initially you will have 2 turns before the generator explodes but each killed electro-priest will give you another turn.
After the battle, while Heinrix investigates, you can pass a Lore (Xenos) check to find out the sword piece Heinrix is looking for. This will give you three options:
- [Heretical] [Surreptitiously take the sword shard] - Heinrix will fail his mission. Gain the Mysterious Sword Handguard item.
- [Dogmatic] "Heinrix, take a look over here. Is this by any chance what you are looking for?" - Heinrix will complete his mission.
- [Iconoclast] [Toss the shard into the depths of the reactor] - Heinrix will fail his mission.
If you fail the check or do not attempt it Heinrix will find the sword piece and complete the mission.
After the conversation you can loot all the cultists. Aurora in particular will give you Avenger Gauntlets and Gem of Dark Vitality. Return to the voidship where you will have a post-mission conversation with Heinrix. He will comment on whether his mission was successful or not. If you took the Mysterious Sword Handguard you will have the option to give it to him. If you threw it into the reactor you will have the option to admit it, and Heinrix will concede that even though his mission failed at least the world is safe from the chaos artifact. If you have the Blade Shard in the inventory you can also give it to Heinrix but there in no benefit for doing so. In the end Heinrix will say he will remain on your ship until you reach Footfall.
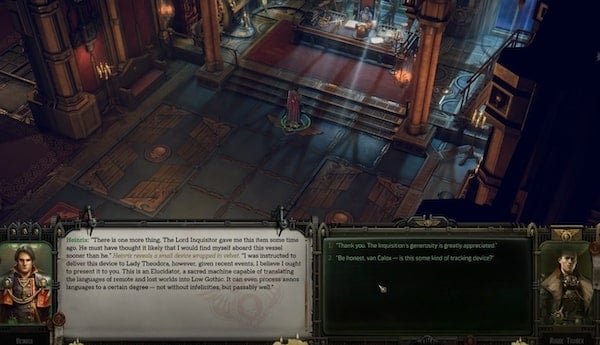
Return to the Command Center to speak to the Governor Medineh. This will end the quest as well as New Blood and give you 5 Profit Factor.
Important NPCs Gleam of the Final Dawn Rogue Trader
- Governor Medineh
- Heinrix Van Calox
- Magos Haneumann
Rogue Trader Gleam of the Final Dawn Tips & Tricks
The chant for the Data-Altar of Sacred Analysis is:
- "...the Omnissiah, from whom the holy discharge springeth forth."
- "...the arcane key that closeth the circuit."
- "...the immortal Reason that hath created the spark."
 Anonymous
After having talked to the mummified Dahr and been granted his blessing, instead of proceeding through the right hallway and having the fight with the electro-priests, if you go to the left and reach the room with the Arc Rifle in it, coming from the northern part of the Motive Force Field (after killing all the bad guys and saving the hanged priest), will you stil have to fight the electro-priest guards or do they recognize you as one of the Good Guys Team??


Is it possible to get the handle shard back from heinrix if you give it too him?
0
+10
-1