The Starport
|
|
|---|---|
| Location | Rykad Minoris (Starport) |
| Reward | n/a |
| Previous Quest | Looking for Trouble |
| Next Quest | Gleam of the Final Dawn |
The Starport is a Quest in Warhammer 40k: Rogue Trader. The Starport can be acquired in Chapter 1. The Starport quest leads you to meet with Governor Medineh and gather information about Heinrix van Calorx's location.
The Starport Information Rogue Trader
Rykad Minoris welcomed the Lord Captain not with fanfare and a grand parade, but with explosions and the sounds of battle. Still, this changes nothing — the Rogue Trader still needs to find this world's governor and request the necessary supplies and crew for his voidship.
Warhammer 40k:Rogue Trader The Starport Objectives
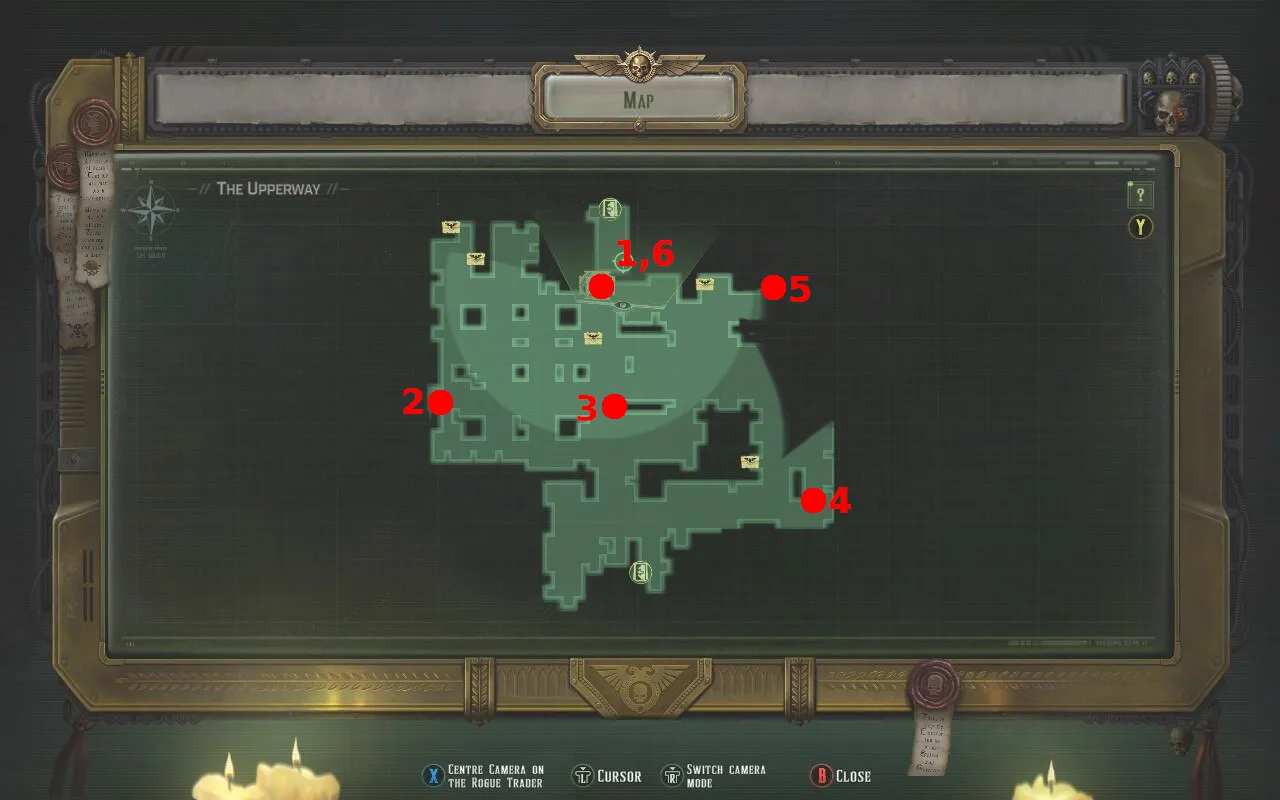
- Reach the Upperway
- Destroy the ancient anti-aircraft battery
- Meet with the governor's convoy
- Find out what is going on
- Reach the command centre
- Talk to the governor
Rogue Trader The Starport Walkthrough
When you first land on the planet send help from the ship to Sergeant Malgar. It will help in the final quest of chapter 1. How you talk with him will also affect his dialogue during the same quest. Fight through the Starport, where you will face twice times groups of rebels led by a Rebel Agitator that will get the first turn and buff all of them. After the second fight cross the bridge, carefully disarming 3 traps placed at the beginning. You will encounter Pasqal, recruit him and complete the Machine Spirit Keeper quest.
Near the end of the level there will be 15 enemies but you will find two inactive turrets. Parqal or another character can pass a Logic test to reactivate them. The turrets are equipped with Melta weapons and on lower difficulties they will be able to defeat all enemies on their own.
Once you reach the Upperway you will find a lone survivor - Private Camille Regias. Continue past the burning shuttle and you'll find a group of dead soldiers. Looking at them will bring an Awareness check. If you pass it you will receive a bonus dialogue option to point out how suspicious everything looks. If you accuse the private of being a traitor he will deny it. If Idira is in the party she will confirm it and if Rogue Trader has the Crime Lord origin he can confirm it as well.
Major choice: Aside from the choice whether to kill Private Camille Regias or not, if Idira is in the party threatening her will push her on the Rejected character development path.
Climb the stairs and Private Camille Regias will be ambushed by another group of rebels. This time they will be led by a Firestarter Rebel that will always have the first turn so be careful about positioning your companions too close together. After defeating the ambush you will have another chance to accuse the private.
Major choice: If Private Camille Regias is not killed he will help in combat throughout the chapter. His starting wound can be cured with a Medkit to make him more effective. In addition, if he is not killed to sent to a tribunal he will appear at the end of the chapter. From here there are three directions in which you can continue. There is nothing forcing the story to continue in this portion of the map so feel free to go in whatever direction you prefer and solve the objectives in any order.
If you continue along the center of the map you will find the anti-aircraft battery and a group of unsure rebels guarding it. You have the following dialogue options:
- [Requires: Noble] [Flash a derisive smile] "Oh, you miserable, pathetic, lower order scum... Rebelling against your masters, are you? Care to show me your rebellious spirit now instead of taking sneaky shots from a safe distance? Do you have the guts to do it? Well? Do you?" - avoid fight and can choose whether to spare them or execute them
- [Persuasion] "The Chief sent me to take over from you." - avoid fight and gain bonus experience
- [Coercion] "An insurgency against your lawful governor amounts to heresy. I command you to lay down your arms at once!" - avoid fight if successful, fight the rebels if failed
- [Attack] "Death to the Rebels!" - fight the rebels
After dealing with the rebels you will inspect the the anti-aircraft battery. There is a Tech-Use test that will grant a large amount of experience. The battery can be destroyed either with a Demolition check or the Astra Militarum origin. The Demolition option requires a Melta Charge but gives more experience.
The find out what is going on objective requires finding out multiple things. If you interact with any blind person in the Upperway you will find out about them. Then you need to reach the lower levels of the upperway. There are two routes you can take:
- The southern area of the map has some rubble from which you can descend. From there you can either go through the front door, which will put you close to the enemies, or take a detour on the right, which will start the next fight away from the enemies but it heavily mined.
- The northern area of the map has a locked door that you can unlock with Tech-Use. It will put you close to the enemies.
Once inside you will witness a chaos ritual. While observing there will be Lore (Warp) and Awareness check to gain some additional experience. You will then have the following options:
- "...charged bravely into battle to crush the enemy!" - begins the fight away from the cultists
- [Requires: Ranged Weapon] "...shot the warp lens, destroying its charms." - begins the fight away from the cultists aside from Rogue Trader who gets in close
- [Requires: Ranged Weapon] "...blew up the fuel barrels, thinning the heretics' ranks." - kills 4 cultists and begins the battle next to the cultists
- [Requires: Grim Portents] "...could only rush blindly into the fray as if trying to escape unseen pursuers." - begins the fight away from the cultists
During and after the fight avoid the steam in the room - it will give an injury to any character who passes through it. After the fight gain the following clues to complete the objective:
- Look at the lens
- Loot Aurora's Sermon from one of the map corners
- Investigate the vox caster in the same corner and either hack it with the Tech-Use check or use the code from Aurora's Sermon, then examine everything.
Interacting with the safe in the room will bring a puzzle. Next to it is a note with a Lore (Imperium) check that will tell you how to solve it. Making too many mistakes will reset the puzzle. The solution can be found at the bottom of this page.
At the bottom of the level there is a door that will take you to the Hive Sewers.
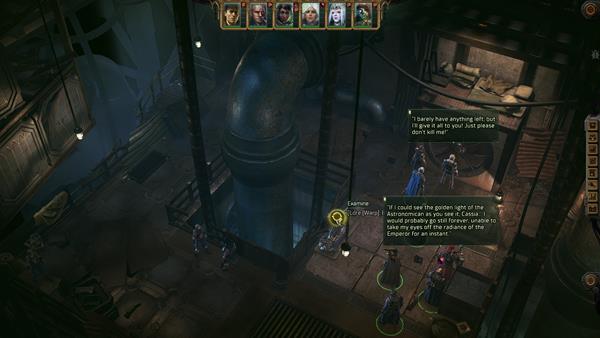
Inside the sewers you will find a couple of Tzeentch symbols. Having sufficient Lore (Warp) when looking at them will grant a small bonus of experience. In the north-western corner there is a Cultist. Having sufficient Lore (Warp) when investigating it will reveal is as a Herald of Tzeentch and begin a boss fight. Initially the rabble on the map will help you but each time the herald loses a quarter of its Wounds it will take control of a group of them.
After the fight loot all their Knives and Scrappy Autopistols. There are also hidden goons above the air conditioning unit and on the lower level.
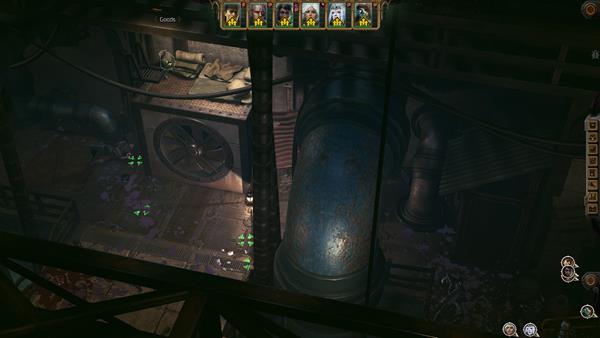
When finished, backtrack to the main Upperway. Exit through the central area to reach the western side.
Going down the stairs on the left will take you to some loot if you can get past 6 traps.
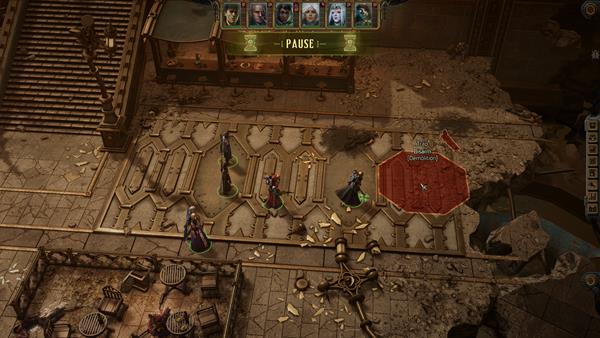
Going forward will show a scene with rebels holding their own family members hostage.
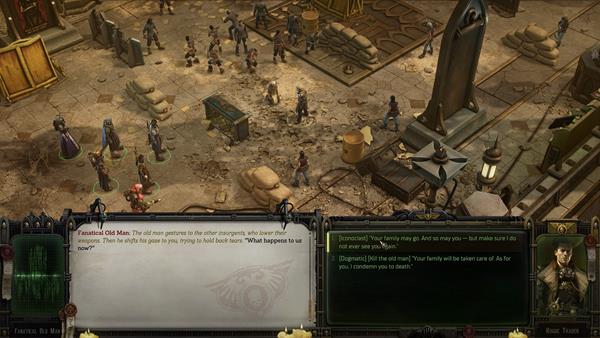
You will avoid the fight if are Iconoclast - Follower, have the Brand of Shame darkest hour or can pass two skill checks. If you manage to avoid the fight you'll have a choice what do do with the leader of the rebel group. This gives +3 to the chosen conviction.
- [Iconoclast] "Your Family may go. And so may you — but make sure I do not ever see you."
- [Dogmatic] [Kill the old man] "Your Family will be taken care of. As For you, I condemn you to death."
Descend down the straits on the right, loot one last chest, and you'll reach the command center. Inside the bodyguards will extend the bridge for you. On the right of the command room there is a cogitator. Passing a Tech-Use skill on it will give you a little experience. Speak with Tech-Priest Quartz-Krame o unlock the Explorators merchant. Then speak with the governor.
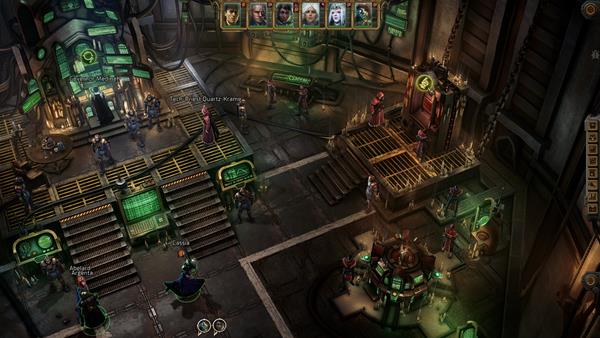
Additionally, talk to Tech-Priest Quartz Krame for trading and a tutorial about it. Once you finish trading, talk to the Governor Medineh. During the dialogue you will eventually get a Commerce check. If you pass it you will have +28 Experience and +2 Profit Factor.
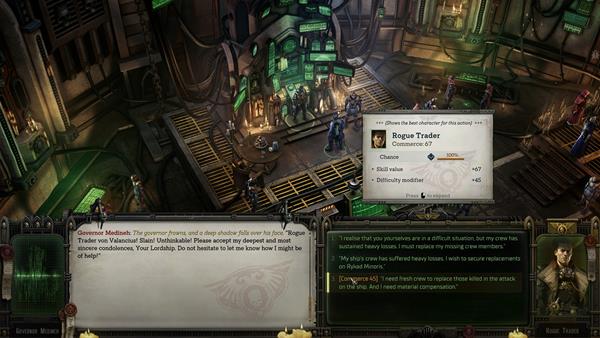
You can tell the government that you don't believe he will manage to defeat the insurrection at the current rate. He will ask for proof. You can either tell him all the clues from the Find out what is going on objective or use special dialogue options unlocked by having the Astra Militarum origin or Apex of Brilliance triumph. Successfully convincing him will complete the objective.
Inquire about Heinrix van Calorx's location to gain the Gleam of the Final Dawn quest. When the conversation is over this quest will be completed.
Important NPCs The Starport Rogue Trader
- Governor Medineh
- Tech-Priest Quartz Krame
- Private Camille Regias
Rogue Trader The Starport Tips & Tricks
The solution to the lower levels puzzle:
