Strings of the Puppeteer
|
|
|---|---|
| Location | Commorragh |
| Reward | n/a |
| Previous Quest | The Chasm |
| Next Quest | |
Strings of the Puppeteer is a Main Quest in Warhammer 40k: Rogue Trader. Strings of the Puppeteer can be acquired in Act 3. This quest begins once you reach the Reaving Tempest Spire. Main Quests in Rogue Trader tackle the story itself, where the player must make a decision in order to complete the quest and pursue a desired path. Quests are generally social, where the protagonist talks to an NPC and Companions to negotiate a situation, to help an ally, or to confront an enemy. Completing a Quest usually gives a reward such as XP, Equipment, the chance to recruit a Companion, and/or access to a new Location.
Strings of the Puppeteer Information Rogue Trader
Nocturne of Oblivion has decided to involve the Rogue Trader in his enigmatic escape plan. Kept in the dark about the nuances of the Harlequin's true intentions, the Lord Captain can only follow his lead while looking for opportunities to cut the strings tying him to the tips of the xenos puppeteer's fingers.
Warhammer 40k: Rogue Trader Strings of the Puppeteer Objectives
- Deal with the xenos
- Commandeer a vehicle
- Find a way to escape Commorragh
- Kill Yremeryss Aezyrraesh
- Activate the Webway Gate and escape Commorragh
Rogue Trader Strings of the Puppeteer Walkthrough
This quest begins after The Chasm ends. You will find yourself in the Reaving Tempest Spire. There are a few chests you can loot on the sides. Once you near the end of the room you will begin dialogue with two Envoy of the Wounded Skies.
Major choice: If Ulfar is in the party you will have a Heretical - Adherent dialogue option gives him the Doomed to Exterminate effect (+50% critical hit chance against xenos) and pushes him towards the Wulfen character development path.
All options will lead to a fight. The enemies aren't very strong but they are very numerous and surround you.
Major choice: After the fight, if Ulfar is in the party, you can ask him about his bloodthirst. Your reply will influence his character development path.
- "You have people to fight for. People who need you as you are: a warrior, not a beast." - pushes Ulfar towards the Space Wolf path
- "You have a duty to kill the Emperor's enemies, not whomever you please." - pushes Ulfar towards the Lone Wolf path
- "If that is your nature, you should embrace it. Even blind destruction can serve a purpose, can't it?" - pushes Ulfar towards the Wulfen path
- [Say nothing] - pushes Ulfar towards the Wulfen path
After the fight you will speak with the solitaire again. If Yrliet is in the part she will request you help with saving eldar farseers and give you the The Path We Lost if you accept.
Major choice: If The Worm Churns was not completed you can ask the solitaire to save the people from the pit. If Yrliet is present she will warn you that you must choose your words very carefully as the solitaire interprets them differently. You will have the following choices and will only find out their effects in Chapter 4:
- [Dogmatic] "They are my instrument. Let them continue to serve me." - you will receive Ranged Weaponry cargo
- "They are like me — simply actors. The show is not yet ended, which means their place is on stage with me." - you will receive People cargo
- [Iconoclast] "They are victims of the brutality that reigns over this place. I wish to save them from torment." - you will receive Provisions cargo
- "Forget about them."
Major choice: At the end of the conversation how you respond to the solitaire will affect how he replies when you meet him again during Hunting Grounds and may unlock an additional ending slide based on choices during that quest.
- "Thank you for helping me. The time has come to end this performance." - the solitaire will be more friendly
- "I don't care about you, but I won't leave anyone in the clutches of these abominations. Not even xenos." - the solitaire will be more friendly
- "I am tired of your deceit and manipulation. I will no longer be your tool." - the solitaire will be more hostile
- "Now I know the path to freedom. I have no reason to help you. Get out of here." - the solitaire will be more hostile
- [Attack] "I have my own ideas about how this show should end!" - the solitaire will be more hostile
Loot everything, go outside and pass an Athletics test to continue. On the left you will find a wall you can destroy with a Melta Charge to get to the chest behind. Go to the end of the terrace where you will find two pilots. If Yrliet or Marazhai are present or you pass a Lore (Xenos) test you can kill the pilots but it has no further effect on the story.
You will be taken to the spire. Before continuing, there is a chest at the opposite end of the landing platform with some cargo loot. At the top of the stairs, if Marazhai has been recruited, he will offer to open the webway gate for you. If you agree he will become locked in the party. Whether you agree or not he will also request to help him find something. If you agree you will receive the Path of the Drukhari quest. If Yrliet is recruited she will also request your help. If you agree she will become locked in the party. If you refuse her you can either separate temporarily or tell her to never return. Separating will end a romance with Yrliet if one is started.
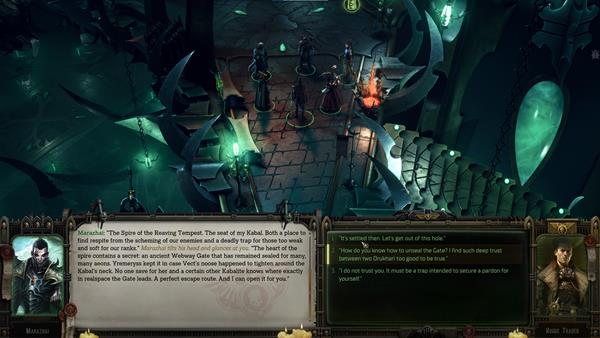
Before entering inside, go to the other end of the walkway to find a crate you can look. If you go to the very end and Marazhai is in the party you will get the option to join him on a raider.
Major choice: If romancing Marazhai, refusing to join him on the raider will reduce his respect.
Enter the spire. The area may be difficult to navigate but using the minimap will greatly help. There are many traps placed on floors you'll need to keep an eye out for. At the beginning go right, as the left junction is shot at by toxic projectiles constantly. Then go forward and left. You will find a pillar with a Lore (Xenos) test. Pass it to disable the toxic projectiles on the left side of the map. You can then explore the left side of the map to find a few chests with cargo loot. The left side does not lead anywhere.
Then explore the eastern side of the map. This is necessary to escape if you refused Marazhai's help or he was never recruited. Otherwise it's not necessary but will still be needed to complete the The Path We Lost quest if you have Yrliet and did not banish her. There are two paths leading there and both of them have toxic projectiles shooting. The panel to disable them is part the projectiles so choose the characters with the highest Lore (Xenos) skill and run when the trap stops shooting. Once you reach the eastern portion of the map, if Yrliet is recruited but you separated earlier without banishing her, she will rejoin. The bottom side has two large vats. Interact with the top one to find a farseer. You can free him to obtain some information but nothing that affects the story or the quest.
Major choice: On the top side there is a Regicide board. If Yrliet is in the party she will have some interaction with it. If you do not destroy the board and ask Yrliet about it you will get some dialogue to influence her character development path. You will also have the option to gain Imprisoned Farseer's Soul.
- "Is she not right on every point?" - pushes Yrliet towards the Path of the Outcast path
- "The pain and suffering have damaged the Farseer's mind. You could not have saved Crudarach alone." - pushes Yrliet towards the Path of the Warrior path
- "Do not let the words of a doomed soul lead you astray from your chosen Path." - pushes Yrliet towards the Path of the Warrior path
- [Say nothing] - pushes Yrliet towards the Path of the Outcast path
- [Destroy the board] "Anyone who says such things deserves death."
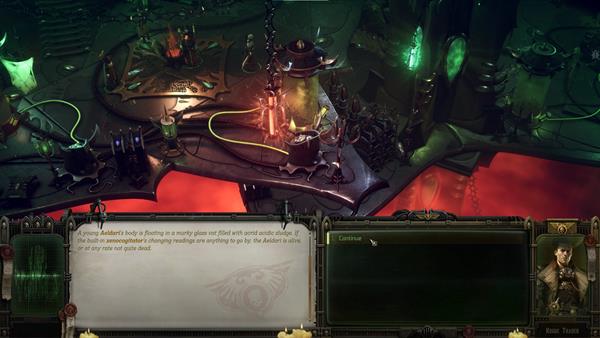
Keep going to the final eastern room and you will have a fight with Bloodthirsty Experiment and Disciple of Pain enemies. It is recommended to begin the fight from the left side of the room as the right side contains a trap that will slow you down. Interact with a console on the top side of the room and then with one on the bottom side to lower and open the cage. You will find Eklendyl. If there is an ongoing romance with Yrliet he will comment on it. If you got Imprisoned Farseer's Soul earlier you can give it to Eklendyl.
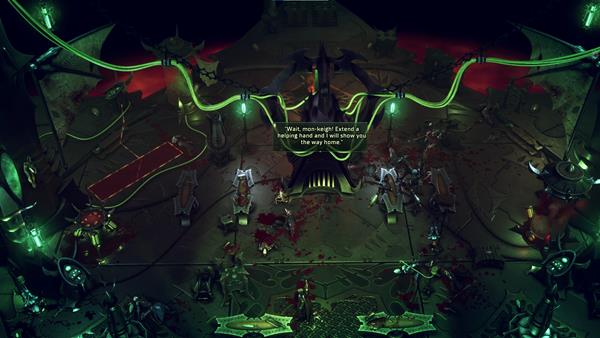
Major choice: If Yrliet is present, you ask Eklendyl all questions about Craftworld Crudarach and pass a skill test you will find out it was his mistake that doomed the craftworld. This choice will influence Cassia's companion quest in chapter 4 as well as some of Yrliet's endings.
- If Yrliet is currently on the Path of the Outcast she will want to kill Eklendyl. Convincing her to do otherwise requires a Coercion or Persuasion test.
- If Yrliet is currently on the Path of the Warrior she will not want to kill Eklendyl. Convincing her to do otherwise requires a Coercion or Persuasion test.
After the battle you will see someone in the cage above asking for your help. Loot all the enemies and the various boxes around the room. A locker at the eastern end of the room will contain a Webway Resonance Device, which will be needed if you do not have Marazhai or refused his help in escaping.
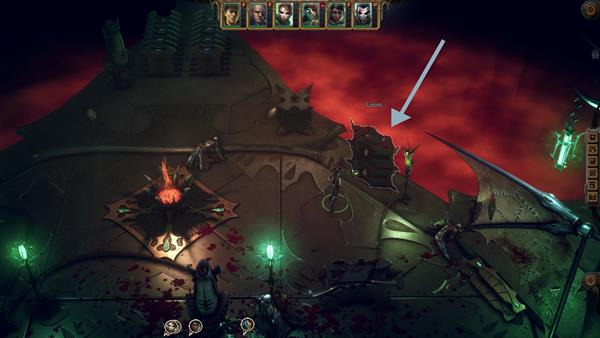
Return to the center of the map, where you will find a console that will extend some stairs to the northern region of the map. If you go left you will find a console you can interact with to raise a crate with drukhari equipment. If you keep going left you will find a torture chamber. If Marazhai is in the party he will explore a chest and give you 2 Xenoplasm Grenade.
Major choice: If romancing Marazhai, showing disinterest in dialogue will reduce his respect.
Go back and continue along the only path left. There is a Medicae test to gain a little experience along the way, and then another crate with cargo loot. Finally, there will be a trap shortly before reaching the elevator. Interact with the console on the elevator to go up to the main hall.
Inside the main hall, disarm a trap that starts right next to you if you detect it. Then loot the crates at the top of the starting area. The starting area has two bridges, both of which have traps followed by enemies you can ambush. It does not matter which way you go - the battle will include the enemies on the opposite side too. After the battle continue along the chosen path until it splits into two. You can go forward if you want but the exit to the room will be blocked. Instead go up the stairs and you will meet Tervantias the Archmachinator again behind a protective force field powered by a construct. If you ask him about it you can finally solve the Stolen Suns rumor and gain the Tervantias' Masterpiece rumor. If you exhaust all dialogue options you will have the following options.
Major choice: Decides the ultimate fate of Commorragh and counts towards the conviction-specific ending tally.
- [Dogmatic] [Destroy the stifler] "I cannot leave knowing that I did not make use of my chance to destroy this putrescent city. It is high time I put an end to this place!" - fight Tervantias the Archmachinator and his 4 guards and remaining fights in Commorragh will start with 10 Veil Degradation
- [Heretical] [Destroy the stifler] "I shall break your toy, but not because I care about ridding the galaxy of the Drukhari. I shall do it because I want you and your kind to know: no one uses me. Ever." - fight Tervantias the Archmachinator and his 4 guards and remaining fights in Commorragh will start with 10 Veil Degradation
- [Iconoclast] [Leave the stifler intact] "Until our next meeting, Tervantias. It will be your last."
- [Requires: Heretical - Votary] [Pray to the gods of the warp] "Edge! See through my eyes a doorway into the Dark City and pray accept it as my offering!"
To to the top of the map and take the elevator to the top of the spire.
At the top of the spire, if you go northwest and obtained the Path of the Drukhari quest a scene with Marazhai will play out and end that quest. After that head north and climb the large staircase. If you separated from Yrliet earlier and did not banish her she will rejoin you. Regardless of the chosen dialogue options a fight will start. You will need to fight Yremeryss, 4 Incubus and 4 Grotesque. Once Yremeryss loses half of her wounds she will recover to full health, get a free turn and activate two turrets.
After the fight, if you have the Killing Blow errand, you will see Marazhai finish off Yremeryss. Then either him, Yrliet or Eklendyl will open the webway portal. If you accepted Marazhai's offer to help with the portal, he will open the portal and 4 mandrakes will arrive to take him away. If Yrliet or Eklendyl are present you can hand over Marazhai, otherwise you won't have the option. There is no reward for handing over Marazhai. Loot the place and enter the webway portal to finish chapter 3.
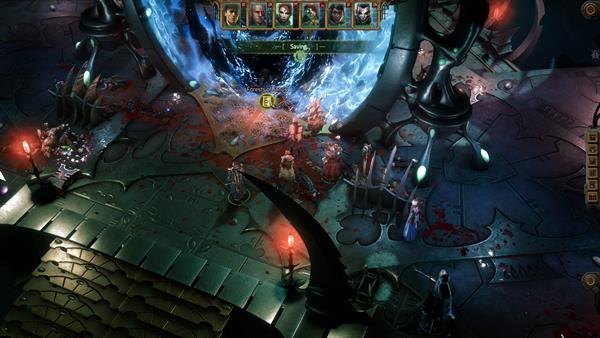
The quest will end as soon as you exit the webway on Janus.
- If you allied with the eldar on Janus you will reunite with Muaran. If Eklendy has been saved he will leave with Muaran.
- If you killed the eldar on Janus a human scout will bring you up to speed. If Eklendy has been saved you will decide his fate.
You will then automatically return to the voidship.
Important NPCs Strings of the Puppeteer Rogue Trader
Rogue Trader Strings of the Puppeteer Tips & Tricks
- Notes and Tips go here...

Was unable to get the option to save people in the pit. Does anyone know how to do that?
0
+10
-1